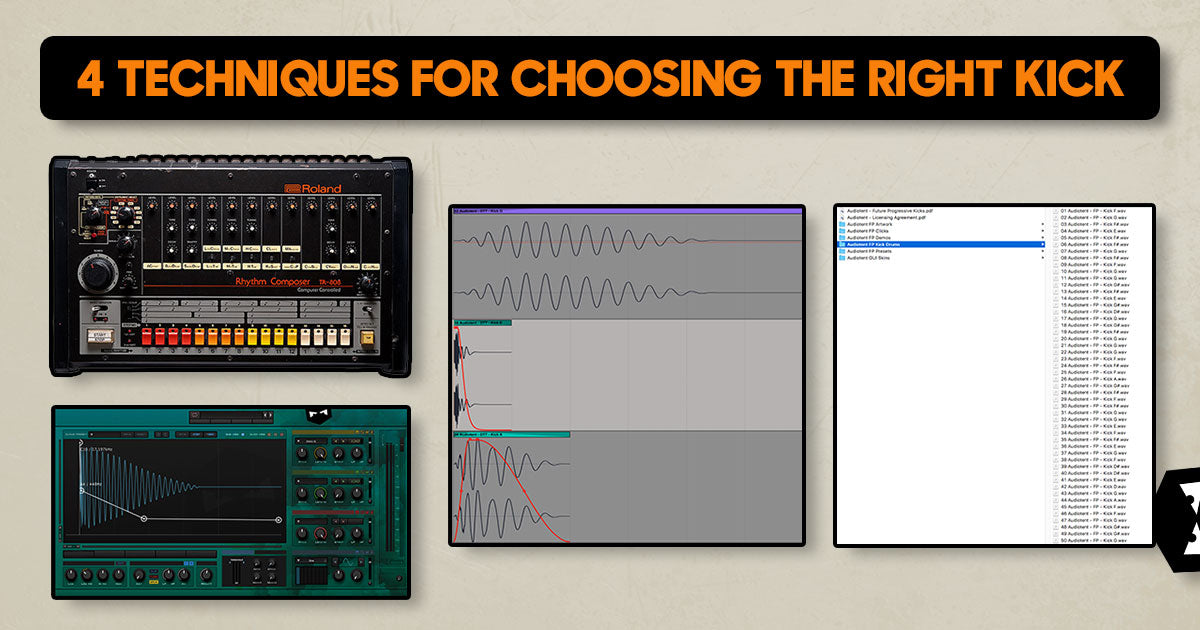
Audiotent Tip 408. 4 Techniques for choosing the right kick.
Tight, solid, punchy, round, these are the words we use when describing a great sounding kick. The question is, how do we get there? What techniques do we use?
You have probably heard this a hundred times before, but the most important part is obtaining the right sound at the start. This way, you will save yourself from an unnecessary amount of tweaks and alterations, trying to get the average sample to sound awesome in your track.
There are four different ways to get the right kick sound:
● Record it yourself. Sample your favourite drum machine to get the purest kick signal into your computer. Alternatively, if you are into acoustic tones, mic up the acoustic kick and record it.

● Pick up the best 1-shot sample from your library. Browse through your samples and find the best sounding kick that fits your vision for the track.

● Layer it from multiple 1-shot samples. Take full control of the multiple sonic aspects of your kick. Pick up a few different kick samples that support each other and layer to achieve the perfect foundation for your track. E.g. Sample one to contain a solid low end, sample two - tight punch, sample three - nice top-end click. EQ, layer and blend these to create a new sample.

● Synthesise with a dedicated plugin. Tools such as Kick 2 by Sonic Academy or PunchBOX by D16 Group allow us to have extra detailed control over the kick. We can use them to synthesise/layer/build new kick sounds from the ground up without leaving our DAW. Even if designing the perfect kick from scratch does seem a bit complicated at first, there is always an option to alter an existing preset with these tools. E.g. Changing the key of the synthesised kick at its core will achieve the most transparent results, rather than pitching the entire kick sample up or down.

Tight, solid, punchy, round, these are the words we use when describing a great sounding kick. The question is, how do we get there? What techniques do we use?
You have probably heard this a hundred times before, but the most important part is obtaining the right sound at the start. This way, you will save yourself from an unnecessary amount of tweaks and alterations, trying to get the average sample to sound awesome in your track.
There are four different ways to get the right kick sound:
● Record it yourself. Sample your favourite drum machine to get the purest kick signal into your computer. Alternatively, if you are into acoustic tones, mic up the acoustic kick and record it.

● Pick up the best 1-shot sample from your library. Browse through your samples and find the best sounding kick that fits your vision for the track.

● Layer it from multiple 1-shot samples. Take full control of the multiple sonic aspects of your kick. Pick up a few different kick samples that support each other and layer to achieve the perfect foundation for your track. E.g. Sample one to contain a solid low end, sample two - tight punch, sample three - nice top-end click. EQ, layer and blend these to create a new sample.

● Synthesise with a dedicated plugin. Tools such as Kick 2 by Sonic Academy or PunchBOX by D16 Group allow us to have extra detailed control over the kick. We can use them to synthesise/layer/build new kick sounds from the ground up without leaving our DAW. Even if designing the perfect kick from scratch does seem a bit complicated at first, there is always an option to alter an existing preset with these tools. E.g. Changing the key of the synthesised kick at its core will achieve the most transparent results, rather than pitching the entire kick sample up or down.

Audiotent - Velocity // Tech-House Kicks for Sonic Academy Kick 2
Click here to listen and get your copy.


Leave a comment
This site is protected by hCaptcha and the hCaptcha Privacy Policy and Terms of Service apply.